

DIY Dog Bandana with Bow Tie: Step-by-Step Sewing Guide
Transform standard scrap cotton into a tailored tuxedo collar complete with a contrast center placket, lace trim, and a dapper plaid bow tie[cite: 3]. Follow this complete blueprint from Theycraft to size, assemble, and fasten a pet accessory built for comfort and durability[cite: 3].
Project Overview & Material Checklist
This design pairs a rich deep-teal body with warm neutral accents—including cream cotton, plaid shirting, and wooden buttons[cite: 3].
- Main Body Fabric: Medium-weight cotton (dark teal or forest green)[cite: 3]
- Bow Tie Fabric: Coordinating plaid or gingham shirting[cite: 3]
- Accent Strip: Tan or natural linen/cotton for the faux button placket[cite: 3]
- Decorative Trim: Narrow cotton crochet lace or piping[cite: 3]
- Haberdashery: 3 decorative wooden buttons (12–15 mm)[cite: 3]
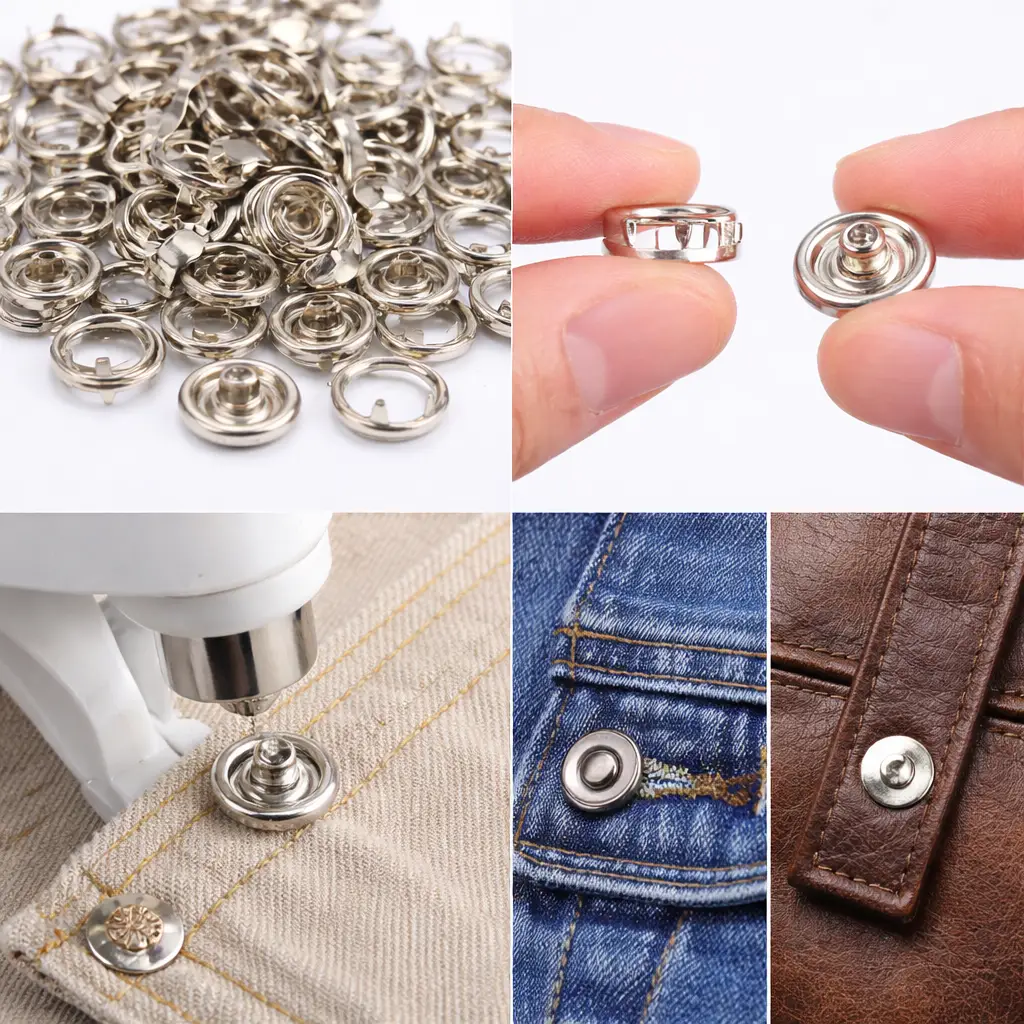
- Closure: Heavy-duty sew-on hook-and-loop (Velcro) tape or prong snap fasteners[cite: 3]
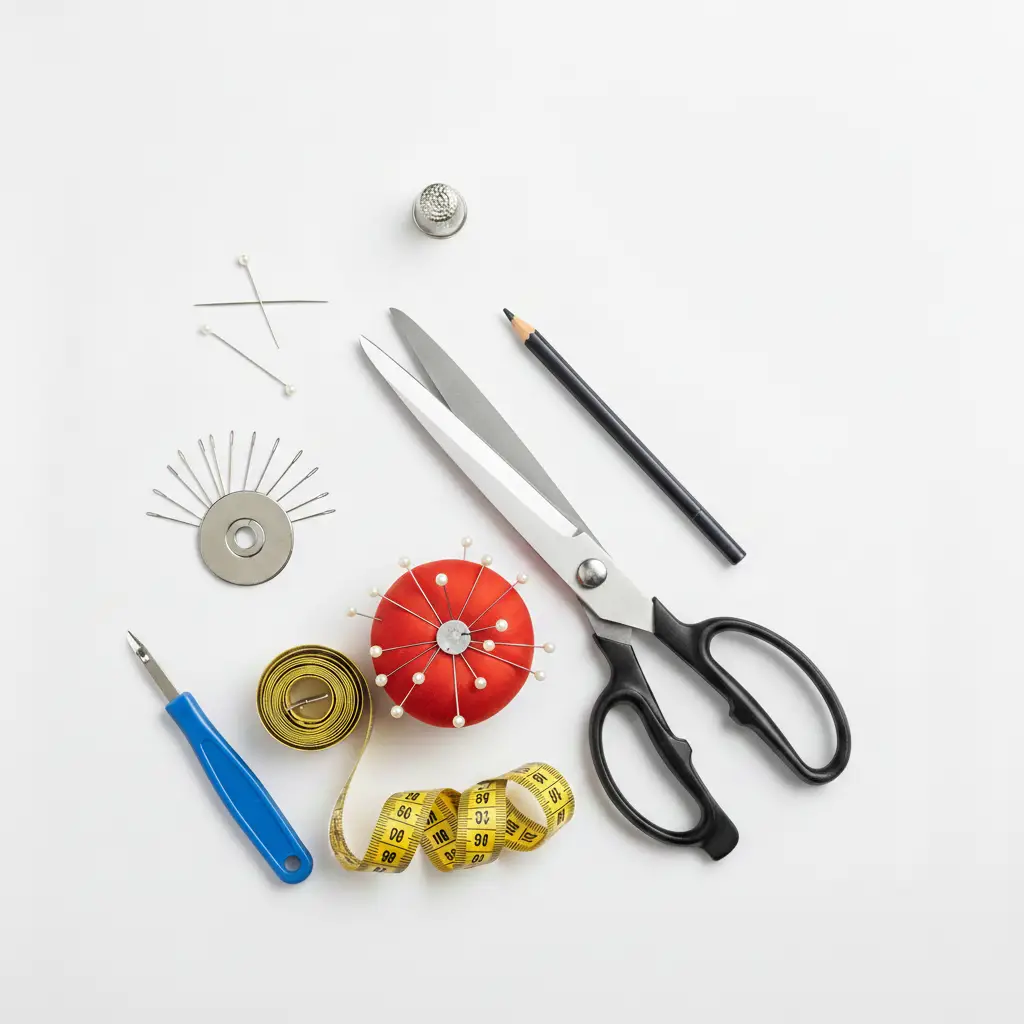
- Essentials: Fabric shears, rotary ruler, matching thread, point turner, and iron[cite: 3]
Sizing & Dimension Blueprint
Always measure around your dog’s lower neck where a regular collar rests[cite: 3]. Add 2 to 3 cm to the total neck measurement for movement ease, plus extra length on each wing for your closure overlap[cite: 3].
| Pattern Dimension | Sample Spec (Medium Dog) | Function & Placement |
|---|---|---|
| Top Width (W) | 22 cm[cite: 3] | Main collar line resting against the neck[cite: 3] |
| Straight Side Drop | 8 cm[cite: 3] | Vertical side edges before tapering downward[cite: 3] |
| Taper Drop | 9 cm (17 cm Total Height)[cite: 3] | Angled taper down to the lower edge[cite: 3] |
| Bottom Flat Edge | 13 cm[cite: 3] | Squared-off bottom hem for clean drape[cite: 3] |
| Fastening Wings | 5 cm extension per side[cite: 3] | Overlap area for Velcro or dual snap sockets[cite: 3] |
Step-by-Step Construction
- Cut the Base: Cut 2 matching bandana pieces from your main fabric using your drafted template[cite: 3]. Place right sides together and sew along the perimeter, leaving a 4–5 cm opening on one edge for turning[cite: 3].
- Turn & Press: Clip seam allowances at corners, turn the piece right side out through the gap, gently poke out points, press flat, and topstitch neatly around the border[cite: 3].
- Add the Center Placket: Cut a vertical rectangle of contrasting accent fabric[cite: 3]. Fold the raw sides under, align it down the vertical centerline of your pressed bandana, and topstitch both sides securely[cite: 3].
- Attach the Lace Trim: Place your decorative lace or ribbon horizontally across the upper chest line, tucking raw edges under, and stitch flat[cite: 3].
- Sew the Buttons: Hand-stitch 3 decorative wooden buttons down the center placket at even intervals, knotting securely at the back[cite: 3].
- Form the Bow Tie: Cut a small rectangle of plaid fabric, fold raw edges inwards, pleat into an accordion shape at the center, wrap with a narrow fabric band, and tack closed[cite: 3].
- Mount the Bow: Hand-stitch the bow tie firmly to the top center edge of the bandana directly above the placket[cite: 3].
- Install Fasteners: Stitch a 5 cm strip of hook-and-loop tape or crimp adjustable snap fasteners to the rear overlapping tabs for a snug, secure fit[cite: 3].